Create and Manage Blog Posts
Creating a New Post
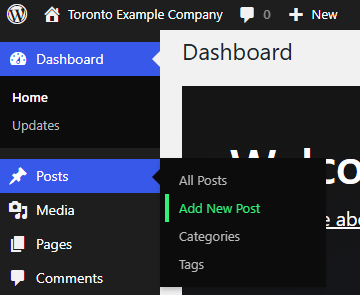
- Start a New Post
- From the left sidebar, click on "Posts"
- Click the "Add New" button at the top of the page
- Or use the "+ New" button in the top admin bar and select "Post"
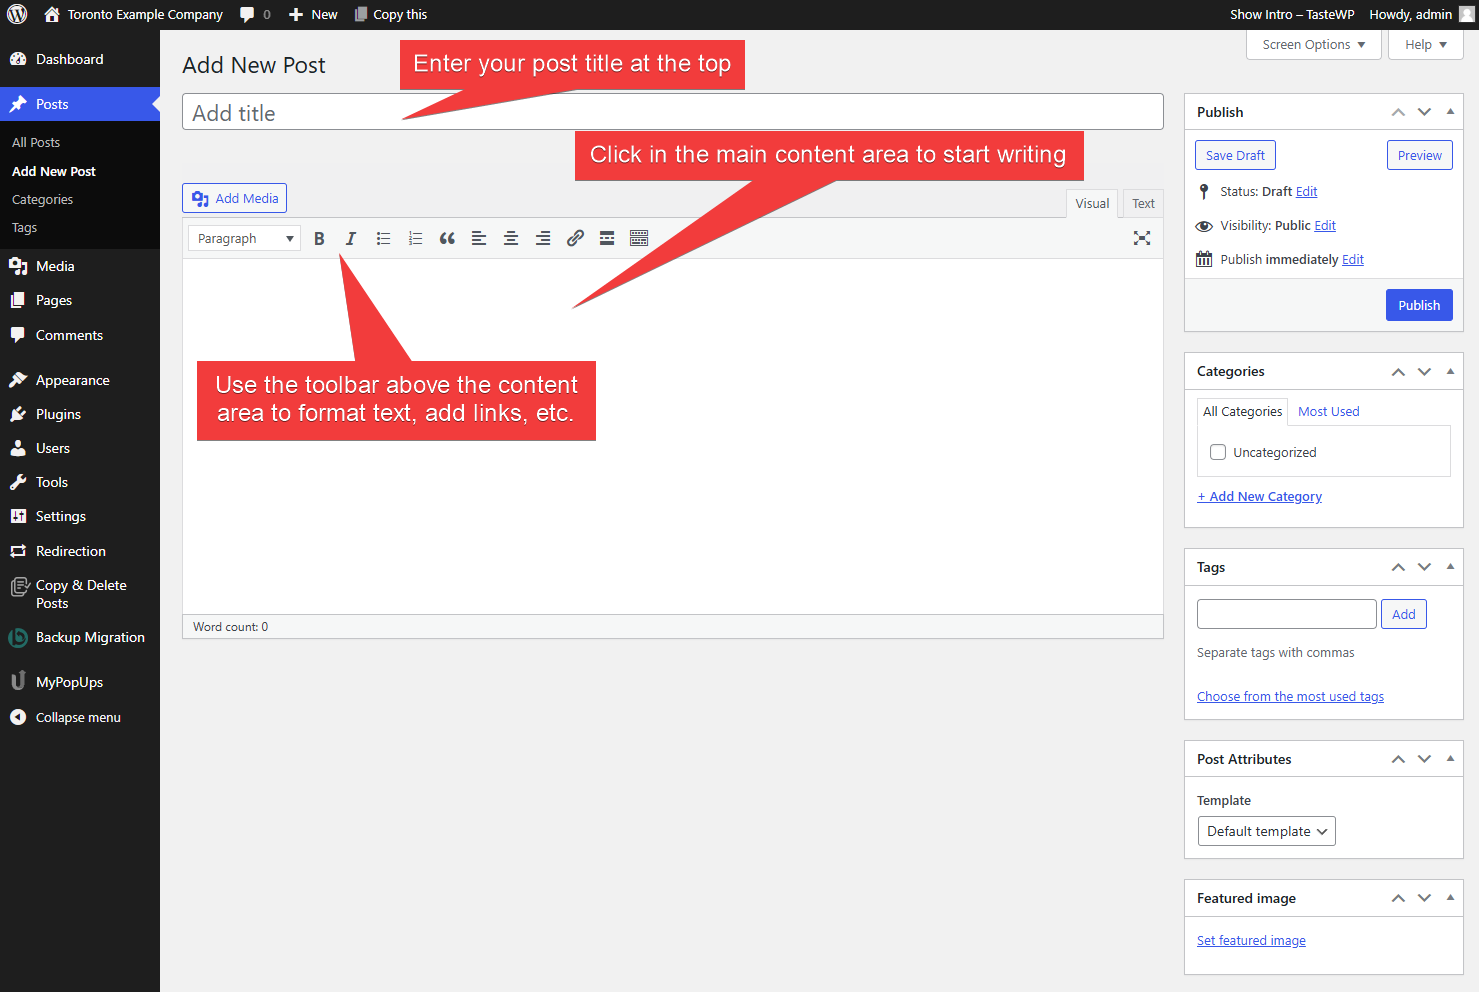
- Add Your Content
- Enter your post title at the top
- Click in the main content area to start writing
- Use the toolbar above the content area to format text, add links, etc.
Assigning Categories
-
Find the Categories Panel
- Look for "Categories" in the right sidebar
- If you don't see it, click the gear icon (⚙️) at the top right to open the settings panel
-
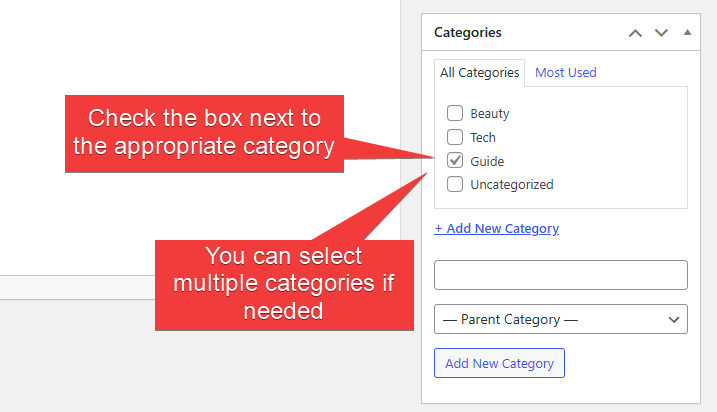
Add to Existing Category
- Check the box next to the appropriate category
- You can select multiple categories if needed
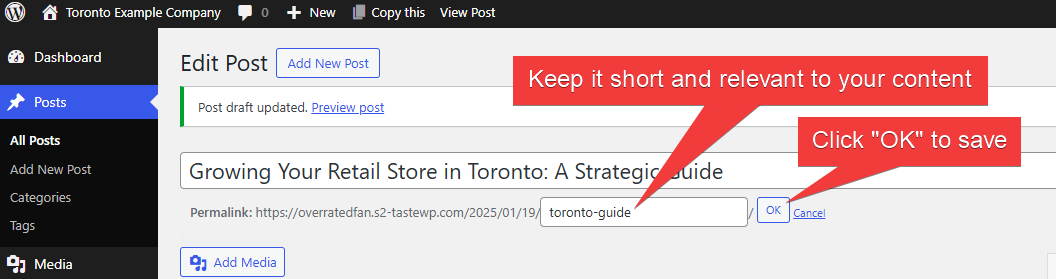
Editing the URL Slug
- Locate the Slug
- Look in the right sidebar under "Post" settings
- Find the "Permalink" or "URL slug" field
- By default, it's created from your post title
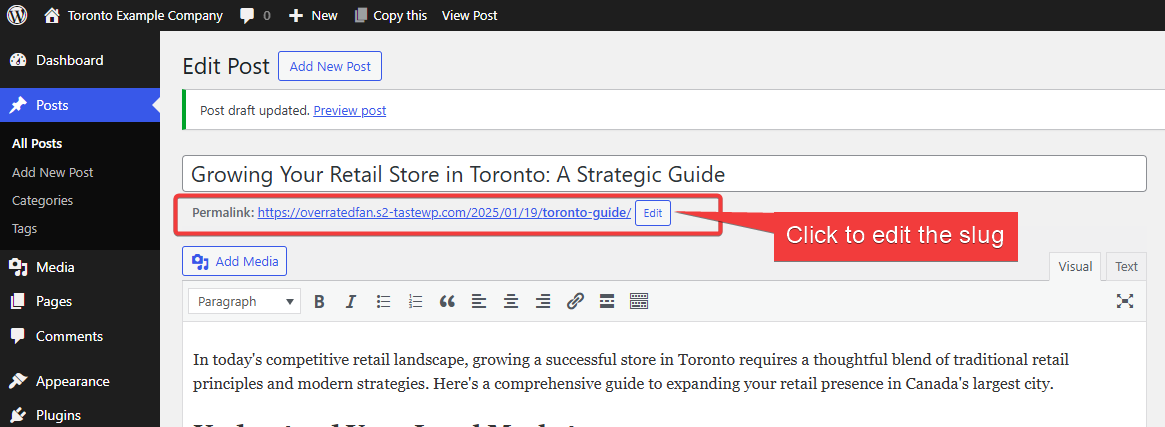
- Modify the Slug
- Click to edit the slug
- Use lowercase letters, numbers, and hyphens only
- Keep it short and relevant to your content
- Example: "my-blog-post-title"
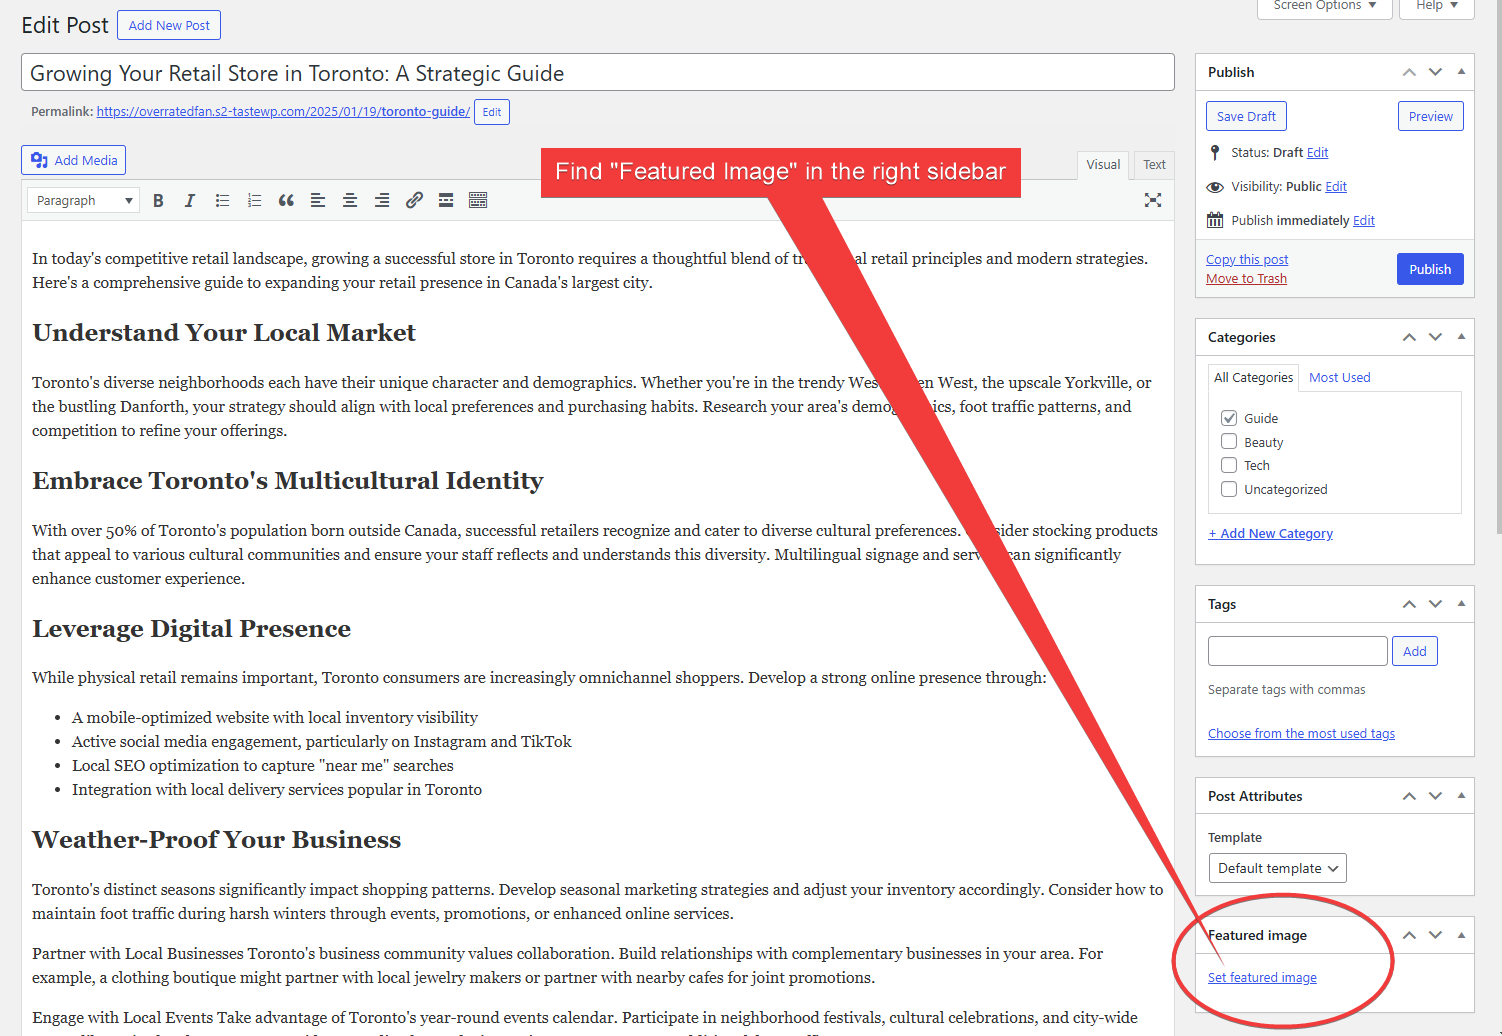
Setting a Featured Image
- Add Featured Image
- Find "Featured Image" in the right sidebar
- Click "Set featured image"
- Choose Your Image
- Upload a new image or select from your Media Library
- Click "Set featured image" after selecting
- The image will appear in the sidebar
⚠️ Important: Never use images found through Google searches or similar sources without proper licensing - using copyrighted images without permission can result in legal action and hefty fines. Only use images you own, have purchased, or have explicit permission to use.
- Image Tips
- Use high-quality images
- Recommended size: 1200 x 630 pixels
- You can edit the image title and alt text after setting it
Image Optimization Guidelines
-
File Size Requirements
- Keep images under 3MB (ideally under 1MB)
- Large images significantly slow down your website
- Slow websites can hurt your Google rankings
-
Image Format Recommendations
- Convert
.jpg,.pngimages to.webpformat for best performance - Use tools like CloudConvert for conversion
- WebP offers better compression while maintaining quality
- Convert
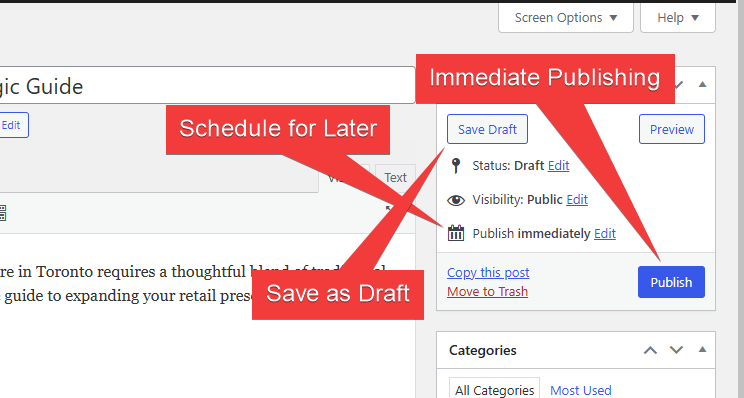
Publishing Options
- Immediate Publishing
- Click the "Publish" button in the top right
- Review your settings in the pre-publish check
- Click "Publish" again to make it live
-
Schedule for Later
- Click the "Publish" button
- Look for "Publish immediately"
- Click the calendar icon to set a future date and time
- The button will change to "Schedule"
- Click "Schedule" to confirm
-
Save as Draft
- Click "Save draft" to save without publishing
- Return to edit anytime from the Posts menu
- Your draft won't be visible to the public
Tips for Success
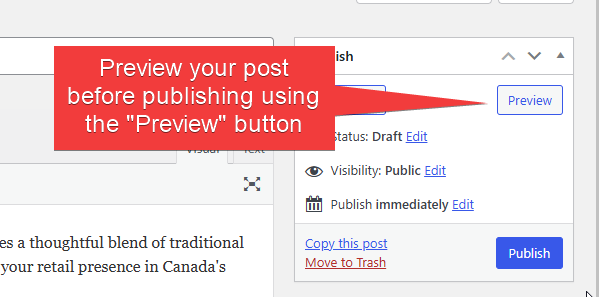
- Preview your post before publishing using the "Preview" button
- Use categories consistently to organize your content
- Choose clear, SEO-friendly slugs
- Always add a featured image for better visual appeal
- Schedule posts strategically for your audience
Need Help?
Contact Alstra Solutions if you need assistance with any of these steps.